Netgear - WPN824 v3 (Netgear Firmware)
Port Triggering Guide
Note: An added benefit of Port Triggering is you do not need to worry about
ip addresses.
When using port triggering with applications that don't make outbound
connections you can use my free
Port Triggering
Initiator to make the connections to trigger the ports for you.
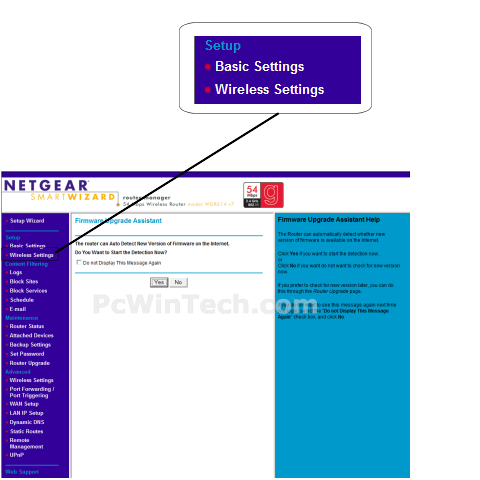
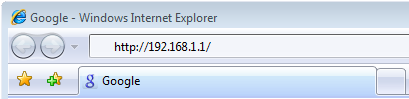
Step 1.
Open your favorite web browser and input your routers ip address in the address bar.
Please note that you must have the http:// in order to connect to your
router/modem properly.
Need help finding you router IP address?
Click here
Step 2.
Some router/modems require a username and/or password, if yours requires it,
enter the routers username and password here.

If you don't know it you can check our list of default router and modem password list
here.
If you have changed it and don't remember it you may have to reset your device to factory default
using the reset button on most routers.
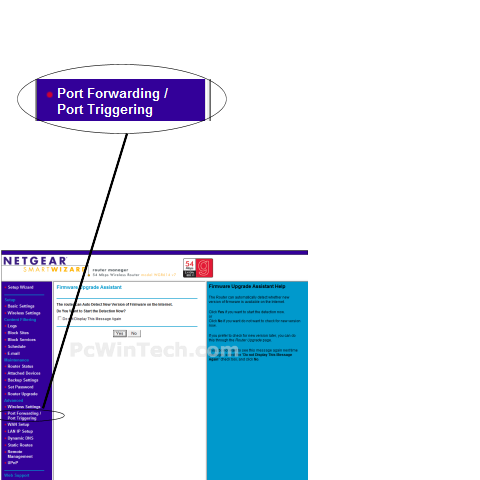
Step 3.
Once logged into your router click on "Port Forwarding / Port Triggering"

Click To View Full Picture
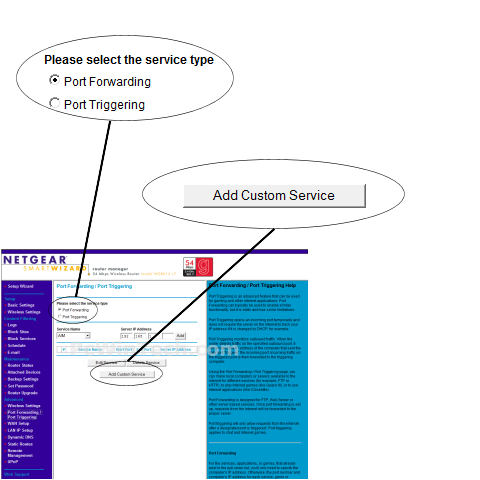
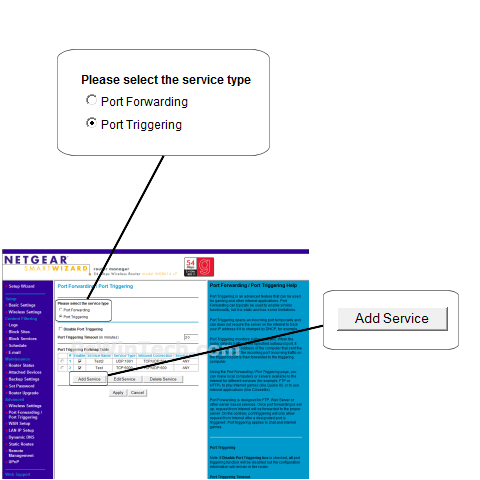
Step 4.
Under 'Please select the service type' choose 'Port Triggering'
Now click on 'Add Service'
Click To View Full Picture
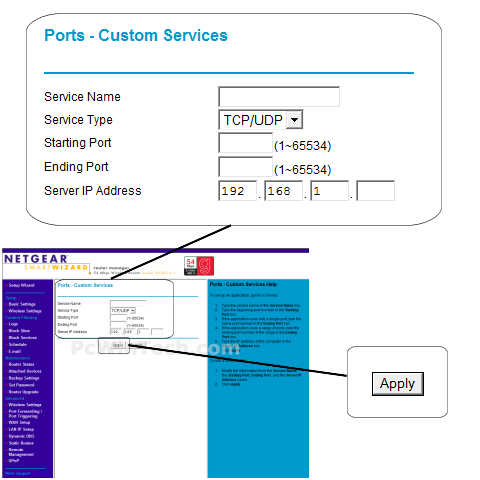
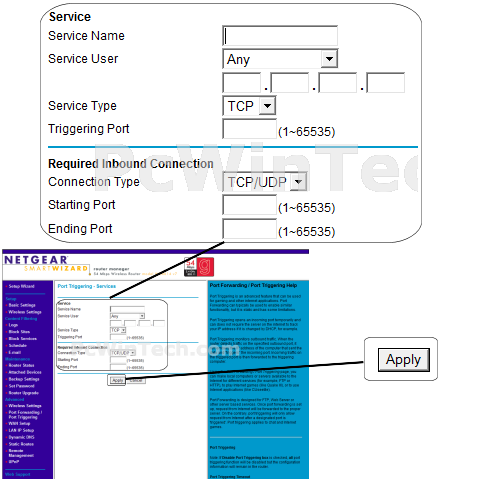
Step 5.
For 'Service Name' give this entry a name, this must be unique from any other
entries.
For 'Service User' choose 'Any'
Under 'Service Type' choose which protocol to use for the triggering port.
In the 'Triggering Port' enter the port to be used as the trigger.
Example: 2100
For 'Connection Type' choose the protocol to use for the ports to be forward
when triggering in enabled.
In the 'Starting Port' & 'Ending Port' enter the ports to be forwarded
when triggering in enabled.
Example: 2100 to 2200 or 3000 to 3000
Click 'Apply'
Repeat this step for all ports.
Click To View Full Picture
All done!